
PS VITA(PCH-1000) USB-C MOD
![]()
![]()

![]() ⚠ Please Note
⚠ Please Note
This kit requires advanced electronics assembly skills, including soldering, disassembly of the device, and plastic case modification. If you are not confident in performing these tasks, we recommend asking someone with experience or using our professional installation service.

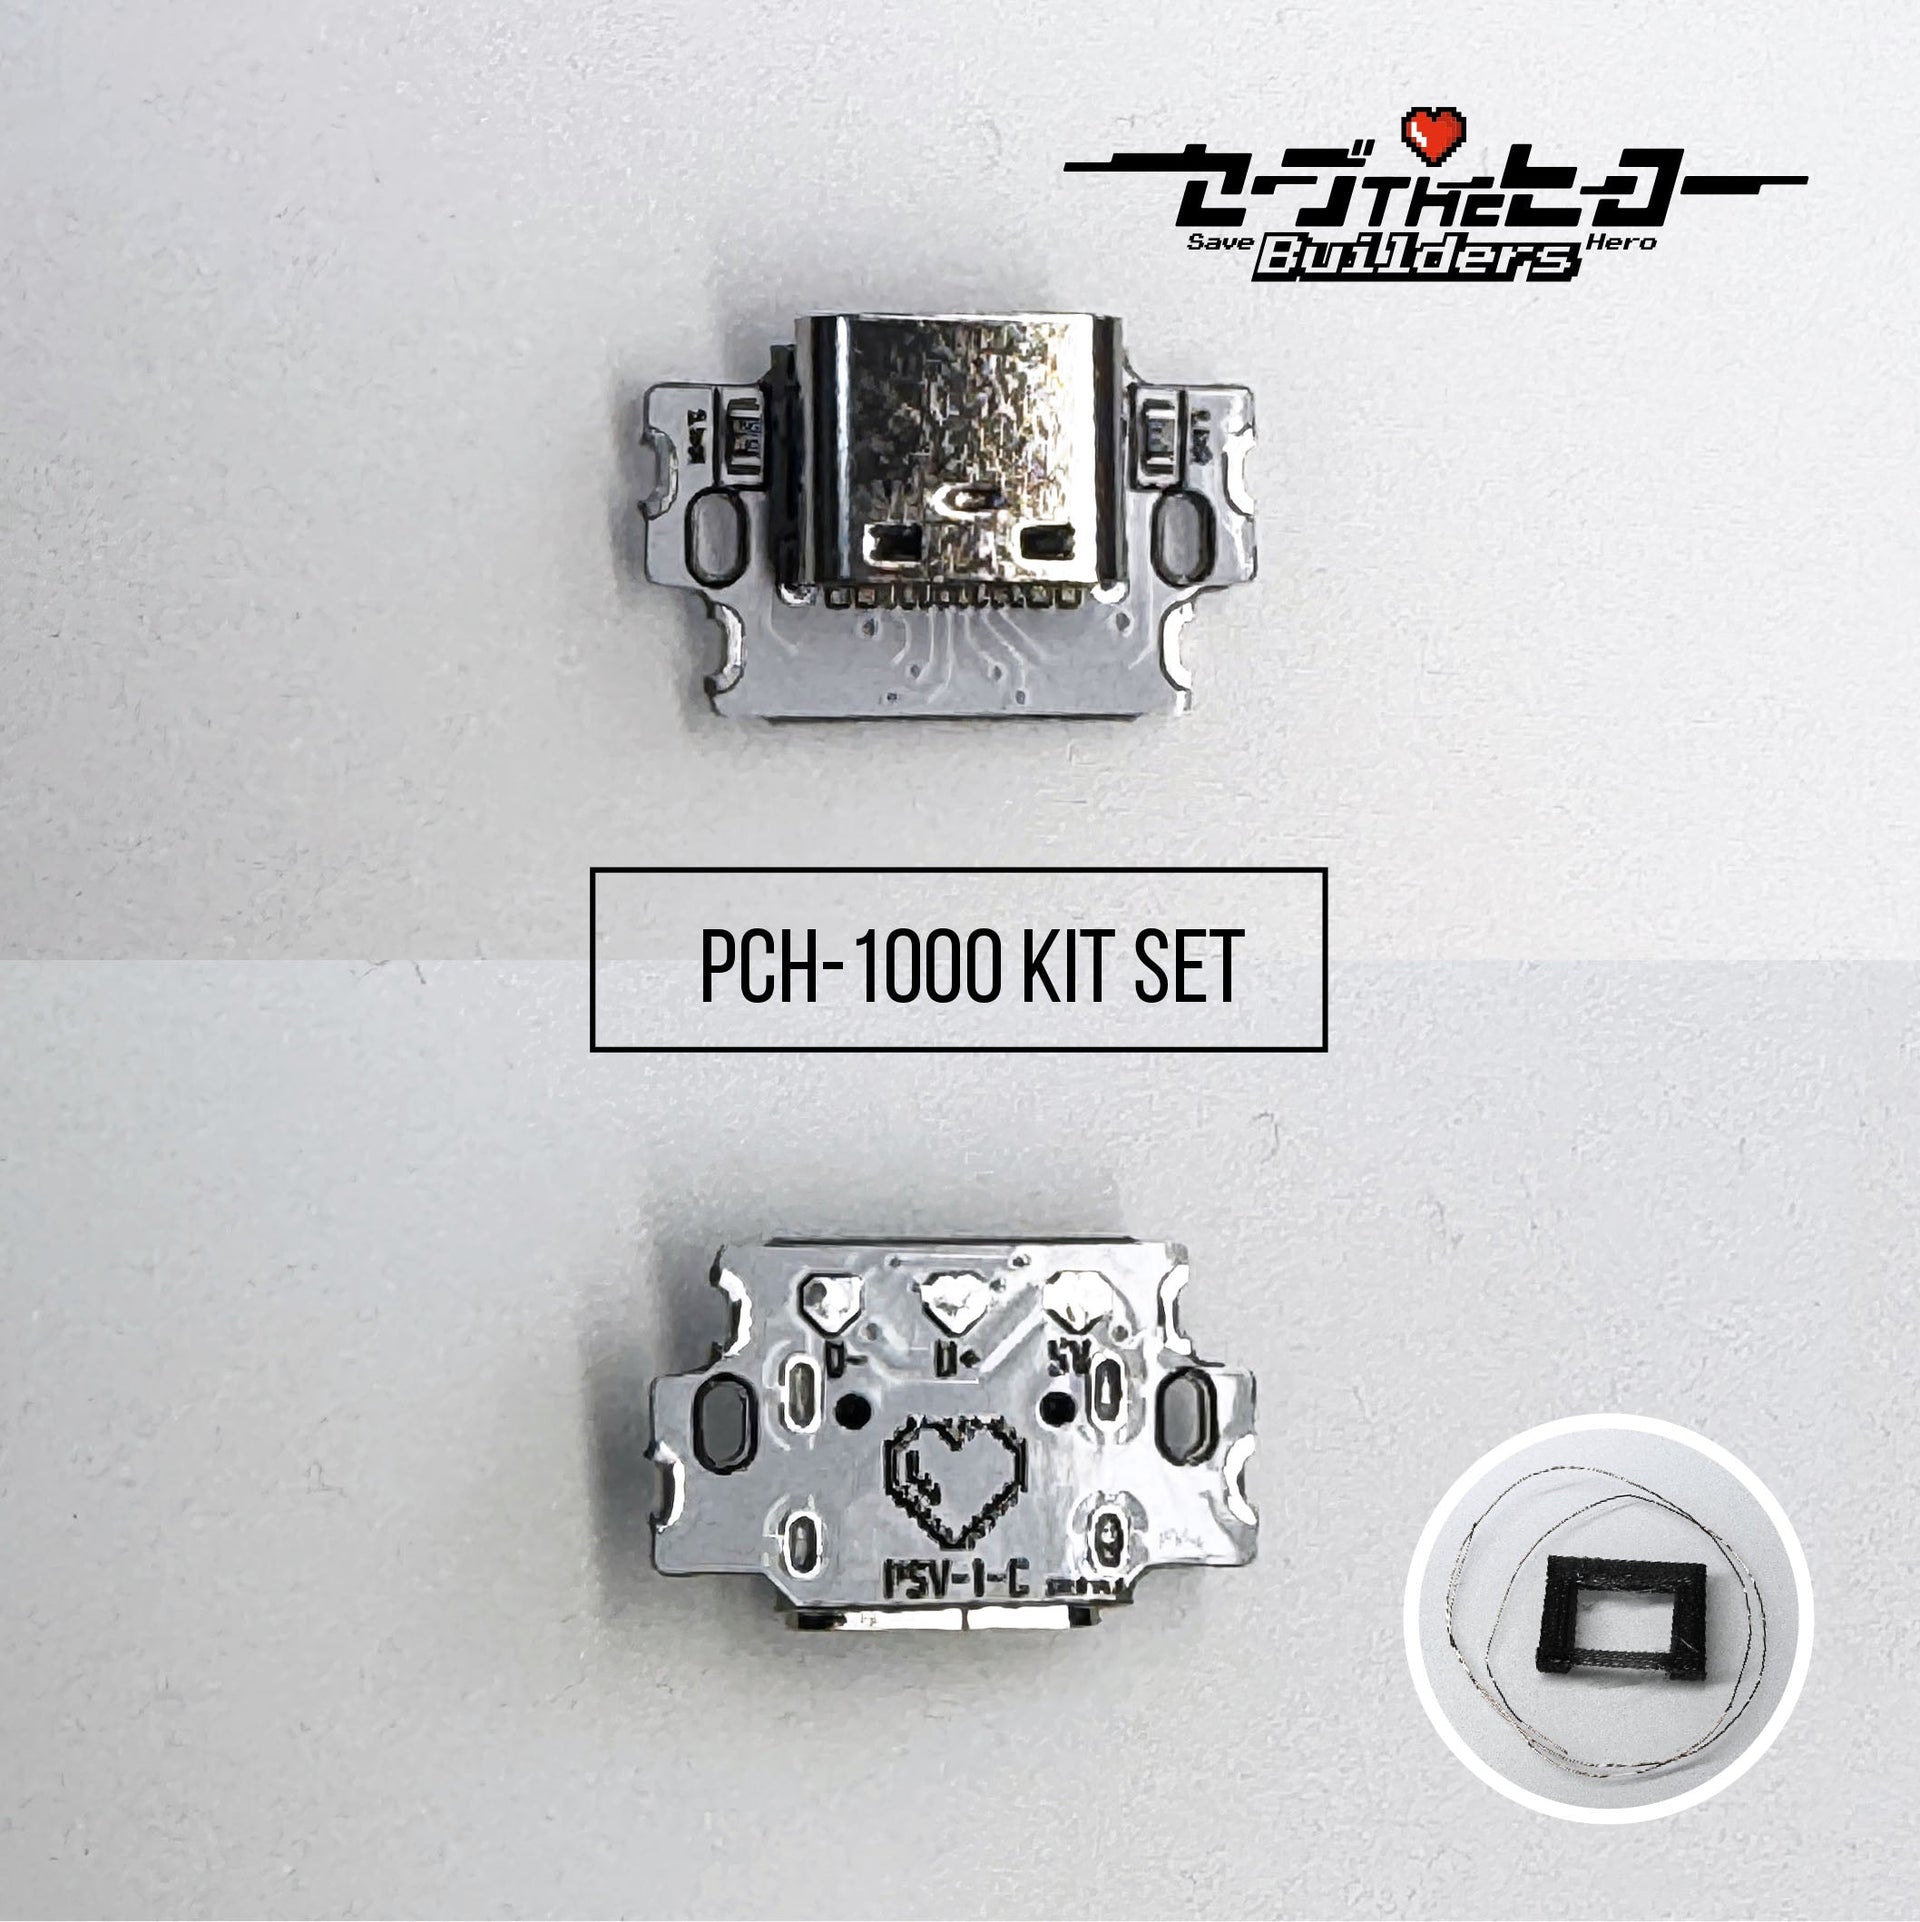
PCH-1000 USB-C MOD Kit (Original PS VITA)This kit replaces the original charging Micro USB port of the PS VITA (PCH-1000) with a USB-C port.
Kit Contents
- USB-C Conversion Board
- Two types of enamel-coated wire
- 3D-printed filler part for the case
Required Tools (Not included in the kit)
- Soldering iron and solder
- Heat gun / preheater (optional)
- Microscope (optional)
- Desoldering pump
- Tweezers
- Metal file / cutter
- Kapton tape
- Isopropyl alcohol
- Precision Phillips screwdriver
🛠 STEP 0: Function Check of the Kit Board
Connect the board to a powered USB cable and use a multimeter to measure the voltage between VCC (5V) and GND.
If you see a voltage around 5V, the board is functioning correctly.
If the voltage is below 4.5V, please contact us at the following email address and we will send a replacement.
savetheherobuilders@gmail.com
🛠 STEP 1: Removing the PS VITA Motherboard
To disassemble the PS VITA SLIM (PCH-1000), a Phillips screwdriver is required. Be very careful not to damage the internal flex cables. For detailed instructions, please refer to the iFixit disassembly guide.
🛠 STEP 2: Removing Power Port
Use Kapton tape to protect nearby chip components on both sides of the board. Carefully desolder power port while avoiding contact with nearby components, then clean the board using isopropyl alcohol.
![]() 🛠 STEP 3: Installing the USB-C Port
🛠 STEP 3: Installing the USB-C Port
Temporarily solder one of the side pads to hold the USB-C board in place. Once you confirm the board is aligned and level, solder the remaining three GND pads to secure it firmly. Use the thicker enamel wire for the 5V connection, and the thinner wires for D+ and D-.
※ If data transfer is not required, connect the thick wire to the blue-marked 5V point shown in the photo.

🛠 STEP 4: Modifying the PS VITA Case (Shell)
Trim the internal area of the rear shell where the USB-C board interferes.
🛠 STEP 5: Attach the 3D-printed cover to the USB-C port.
Attach the 3D-printed cover to the USB-C port as shown in the video.
🛠 STEP 6: Testing & Final Assembly
First, connect the USB-C port to your PC to verify that the PS VITA charges and supports file transfer correctly.
Once you have confirmed that everything is working, reassemble the PS VITA by following the instructions on iFixit.

